Kurzfassung
- Installiere
zsh und führe den Oh My Zsh-Installer unter Ubuntu, Manjaro oder Arch aus. - Aktiviere das
vscode-Plugin, richte Powerlevel10k ein und installiere eine Meslo Nerd Font. - Richte das integrierte VS-Code-Terminal oder Cursor-IDE-Terminal in
settings.json auf /usr/bin/zsh ein. - Unter Manjaro siehe auch Cursor IDE auf Manjaro Linux installieren.
Wenn du noch das einfache Bash-Terminal deiner Distribution nutzt, lohnt sich ein Blick auf Zsh: schneller, sicherer und mit einem aktiven Plugin-Ökosystem. Oh My Zsh ist ein Open-Source-Framework zur Verwaltung deiner Zsh-Konfiguration.
Oh My Zsh unter Ubuntu, Manjaro oder Arch installieren#
Dieser Abschnitt ist der schnellste Weg, wenn du nach oh my zsh installieren gesucht hast und nur die Befehle brauchst.
Schritt 1 — Zsh installieren#
Unter Ubuntu/Kubuntu:
1
2
| sudo apt update
sudo apt install zsh git curl wget unzip fontconfig
|
Unter Manjaro/Arch:
1
| sudo pacman -Syu zsh git curl wget unzip fontconfig
|
Schritt 2 — Oh My Zsh installieren#
Per Curl:
1
| sh -c "$(curl -fsSL https://raw.githubusercontent.com/ohmyzsh/ohmyzsh/master/tools/install.sh)"
|
Oder per Wget:
1
| sh -c "$(wget -O- https://raw.githubusercontent.com/ohmyzsh/ohmyzsh/master/tools/install.sh)"
|
Bei der Installation wirst du gefragt, ob Zsh deine Standardshell werden soll — antworte mit Ja.
Falls nicht, manuell wechseln:
1
| chsh -s "$(command -v zsh)"
|
Nach dem Wechsel ab- und wieder anmelden.
Oh My Zsh konfigurieren#
Bearbeite ~/.zshrc ohne sudo:
Einfaches Beispiel:
 1
 2
 3
 4
 5
 6
 7
 8
 9
10
11
12
13
14
15
16
17
| export PATH=$HOME/bin:/usr/local/bin:$PATH
DEFAULT_USER="$(whoami)"
zstyle ':omz:update' mode auto
zstyle ':omz:update' frequency 1
plugins=(
git
vscode
)
if [[ -n $SSH_CONNECTION ]]; then
export EDITOR='nano'
else
export EDITOR='code --wait'
# Mit Cursor statt VSCode: export EDITOR='cursor --wait'
fi
|
Powerlevel10k-Theme installieren#
1
2
3
| ZSH_CUSTOM="${ZSH_CUSTOM:-$HOME/.oh-my-zsh/custom}"
mkdir -p "$ZSH_CUSTOM/themes" "$ZSH_CUSTOM/plugins"
git clone --depth=1 https://github.com/romkatv/powerlevel10k.git "$ZSH_CUSTOM/themes/powerlevel10k"
|
In ~/.zshrc:
1
| ZSH_THEME="powerlevel10k/powerlevel10k"
|
Schriftart installieren#
Für Powerlevel10k#
Ubuntu/Kubuntu:
1
2
3
4
5
6
7
8
9
| font_dir="$HOME/.local/share/fonts/MesloLGS-NF"
mkdir -p "$font_dir"
wget -O "$font_dir/MesloLGS NF Regular.ttf" "https://github.com/romkatv/powerlevel10k-media/raw/master/MesloLGS%20NF%20Regular.ttf"
wget -O "$font_dir/MesloLGS NF Bold.ttf" "https://github.com/romkatv/powerlevel10k-media/raw/master/MesloLGS%20NF%20Bold.ttf"
wget -O "$font_dir/MesloLGS NF Italic.ttf" "https://github.com/romkatv/powerlevel10k-media/raw/master/MesloLGS%20NF%20Italic.ttf"
wget -O "$font_dir/MesloLGS NF Bold Italic.ttf" "https://github.com/romkatv/powerlevel10k-media/raw/master/MesloLGS%20NF%20Bold%20Italic.ttf"
fc-cache -fv "$font_dir"
|
Manjaro/Arch:
1
| sudo pacman -S ttf-meslo-nerd-font-powerlevel10k
|
Danach Zsh neu laden:
Optionale Plugins#
1
2
3
| ZSH_CUSTOM="${ZSH_CUSTOM:-$HOME/.oh-my-zsh/custom}"
git clone https://github.com/zsh-users/zsh-autosuggestions.git "$ZSH_CUSTOM/plugins/zsh-autosuggestions"
git clone https://github.com/zsh-users/zsh-syntax-highlighting.git "$ZSH_CUSTOM/plugins/zsh-syntax-highlighting"
|
In ~/.zshrc — zsh-syntax-highlighting immer zuletzt:
1
2
3
4
5
6
| plugins=(
git
vscode
zsh-autosuggestions
zsh-syntax-highlighting
)
|
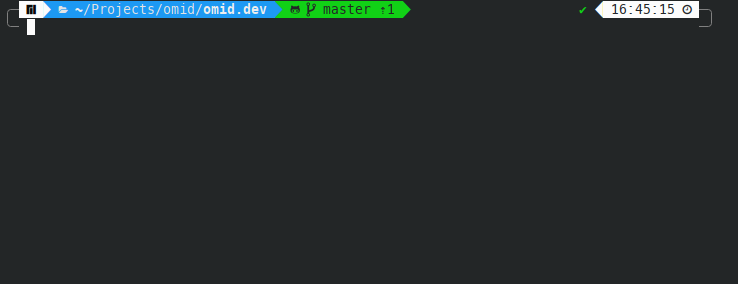
Standardterminal in VS Code oder Cursor IDE ändern#
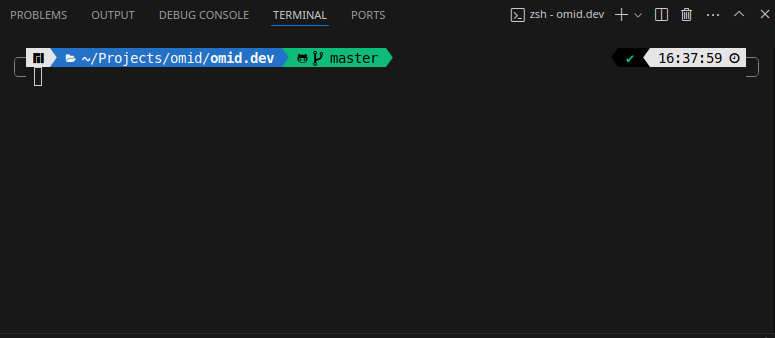
VS Code und Cursor IDE nutzen oft noch Bash als integriertes Terminal. Nach der Schriftinstallation Editor neu starten.
Für Cursor unter Manjaro: Cursor IDE auf Manjaro Linux installieren und das Skript update-cursor.sh für Updates.
In settings.json:
1
2
3
4
5
6
7
8
9
| {
"terminal.integrated.profiles.linux": {
"zsh": {
"path": "/usr/bin/zsh"
}
},
"terminal.integrated.defaultProfile.linux": "zsh",
"terminal.integrated.fontFamily": "'MesloLGS Nerd Font Mono', 'MesloLGS NF', monospace"
}
|